Pakistani dresses are the national wear of Pakistan, worn by both men and women in the country. While ready-made Pakistani dresses can be found in select fashion stores, making your own dress at home is cheaper and more fun!
With the right resources and sewing skills, you can make gorgeous and unique designs to give your wardrobe an ethnic touch. In this article, we’ll guide you through the steps of making a Pakistani dress cut and sew at home.
Choose A Suitable Fabric
Since Pakistan is known for its amazing textile industry, there are a ton of fabrics that you can choose from. If you’re looking for something contemporary, go with silk. If you’re going for something traditional, pick up some Kamdani Pakistani dresses.
Choose A Suitable Pattern
Before you can make your new Pakistani dresses cut and sew, you will need to choose a suitable pattern. A nice one-piece dress is great for beginners.
The smaller it is, in general, the easier it will be to handle—and generally speaking, it’s better if there aren’t too many pieces of fabric involved. If you already have some sewing experience under your belt, though, feel free to choose whatever pattern catches your eye!
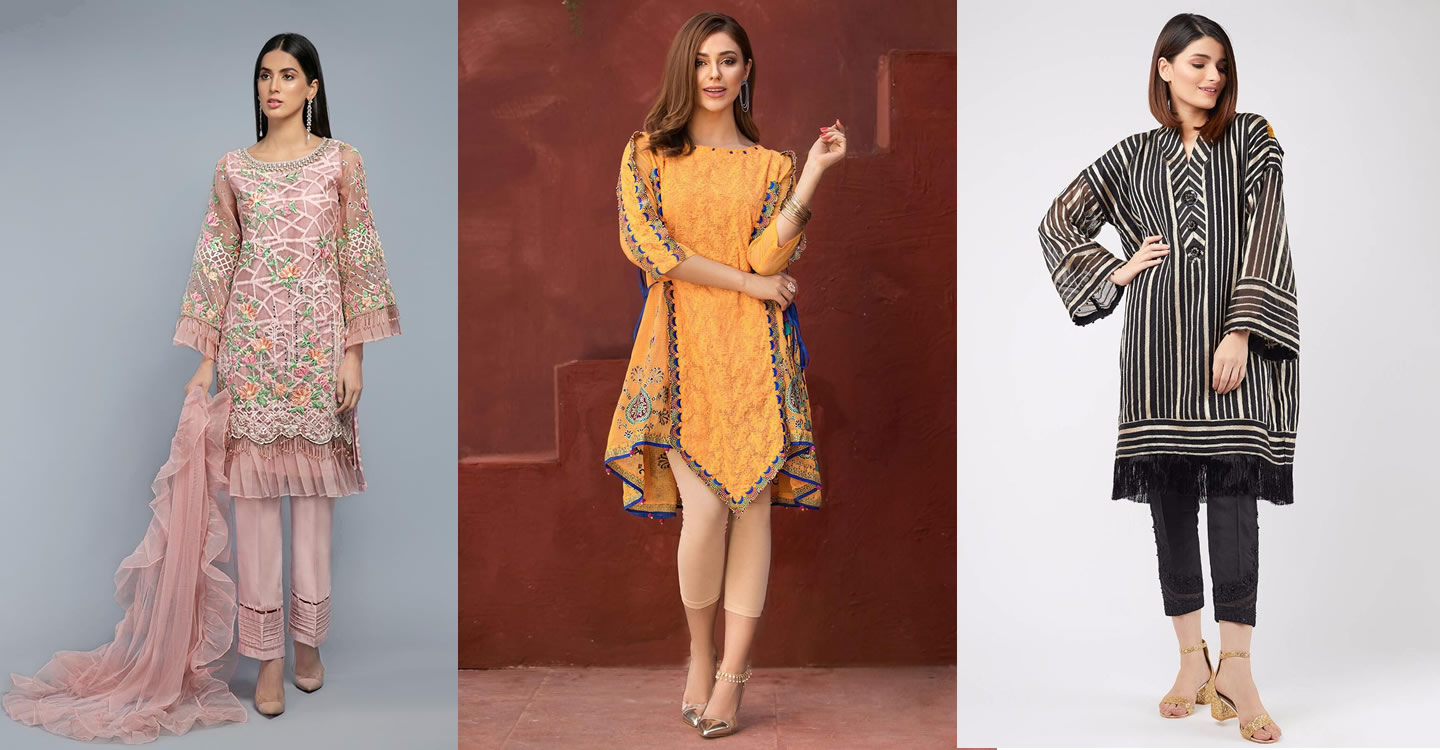
Choose A Color Palette
It’s important to choose colours for Pakistani dresses that will complement your complexion, hair colour, or overall style. If you’re choosing bridesmaid dresses from an off-the-rack store, then you may only have two options.
Figuring Out Measurements
Before you can make a Pakistani dress cut and sew, it is crucial that you know your measurements. If your fabric doesn’t fit, there will be no point in making it. Use these guidelines when taking your measurements
Cutting The Fabric
Use your scissors or rotary cutter (what sewers call an scissor-wielding ruler) to cut your fabric. Place a single layer of fabric on top of your cutting mat with any patterned side facing down.
Separating Panels
Panel skirts are generally sewn in two pieces, with two panels on each side of your waist. The top panel of Pakistani dresses should be longer than the bottom panel so that they can be tucked into your waistband. The top panel will also have a slit or opening for you to step through.
Adding The Lining/Insides
Once you’ve cut out your pattern pieces, it’s time to add your lining. The lining is what makes your garment look like it has an actual lining on its inside. It can be made of silk or polyester (or any other fabric that you have lying around). It should be slightly smaller than your dress so that when you put them together, there will be no visible seams showing.
Stitching The Sleeves In Place
To finish up, stitch one sleeve onto each side of your churidar. For detailed step-by-step instructions on how to do so, click here. You will then repeat these steps for your other churidar as well.
Attaching Collar And Cuffs At Center Back Seam
First, attach collar pieces to the centre back seam of the dress front panel. Fold collar pieces in half, right sides together, and stitch along both long edges with 1⁄2 seam allowance. Press open seams.
Finishing The Skirt In Front Part
It’s best if you make your own pattern for designing, but if you choose not to make it with your own fabric pattern for designing, only then can go out to buy one. This was sent by one of our readers.