A home garage door update generally entails two main phases. First, the homeowner needs to elect the door that stylish fits their aesthetic tastes and their home’s layout. Once a new garage door is named, an existent will need to frame their garage’s entry ahead of its installation. In the post below, we review how to frame a garage door, as well as some common language a homeowner may encounter when speaking with a garage door professional.
What are Rough and Finished Openings?
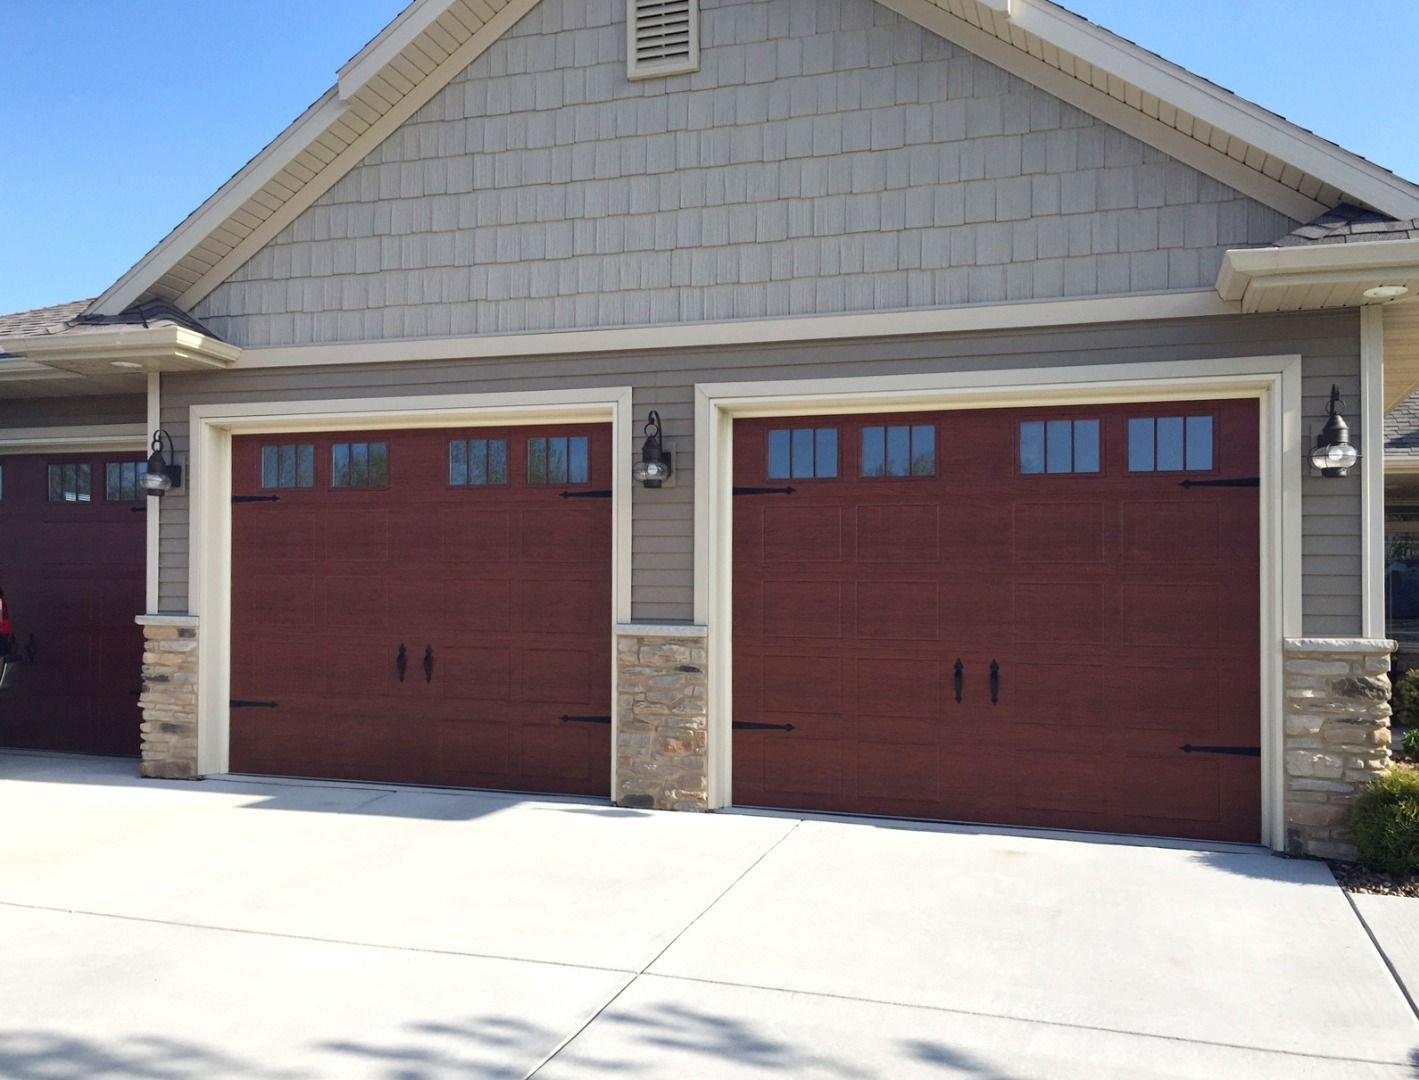
Two terms that homeowners will hear mentioned when shopping for a new garage door repair Chesterfield are rough and finished openings. Rough openings are the open space at a garage’s front that’s slightly larger than the garage door. This is done to give enough room for the door to be opened and contain its corridor. Finished openings, again, are the remaining negative spaces after you have installed the architecture. The image below shows a finished opening illustration.
Five way to a Framed Garage Door
-
Tools You ’ll Need
- Wrap measure
- Pencil
- indirect aphorism or bandsaw
- 3 x 2- by- 6 inch timber or PVC pieces( depends on your preference for door jambs)
- Framing nails
- Hammer or nail gun
Note For the architecture accoutrements , make sure to buy enough timber for double the length of your garage’s bottom- to- ceiling height and double the height of each side of the rough opening. also, accoutrements are demanded to line the range of the title and the distance between the title and the ceiling.
Step# 1 Measure the Rough Opening
Use your tape recording measure to gather the ensuing measures and write them down
The distance between the garage bottom and the rough title. It should be one and a half elevation longer than your new garage door’s height
The title’s space; this area should be nine elevation wider than the door
The rough openings ’ range; it should be three elevation longer than the door
Step# 2 Install the Head Jamb
Installation of the head jamb first ensures the side jambs will be flush against the title
Cut your architecture material to the recorded title size
Mount your head jamb using framing nails
Step# 3 Install Two Interior Side Posts
Inside your garage, measure the bottom to ceiling height
From your timber force, cut two posts that will attach the garage door’s tracks to the wall
Also, mount this two corridor of the “ thing post ” to the head jamb using framing nails
Step# 4 Install the Side Jambs
Cut two pieces of timber or PVC door jambs to the new height of your opening
The side jambs should hit the bottom of the jamb title you’ve formerly installed and should be the exact height of your garage door repair Richmond minus1/4 of an inch( just above the ground)
Step# 5 Attach the Center Bracket Framing
Measure the space between the top of the title and the ceiling
Cut a piece of timber to this height and center it
This last piece of framing will be used by a garage door installer to attach a spring system’s center type
Read More: Buy Backlinks